IKEA HACK:
HOW TO CREATE A STYLISH AND BUDGET FRIENDLY UTILITY ROOM WITH KERRY KELLETT
Utility rooms and bootility rooms are quickly becoming an essential part of a home. There are huge benefits to having a functional room that provides an extra area for you to store and organise items that you don’t necessarily want on show in your main living spaces. But functional, doesn’t have to mean boring. Your utility room can be a stunning practical space that incorporates your unique interior personality. But how do you do that if you are on a budget? Two words. IKEA Hack.
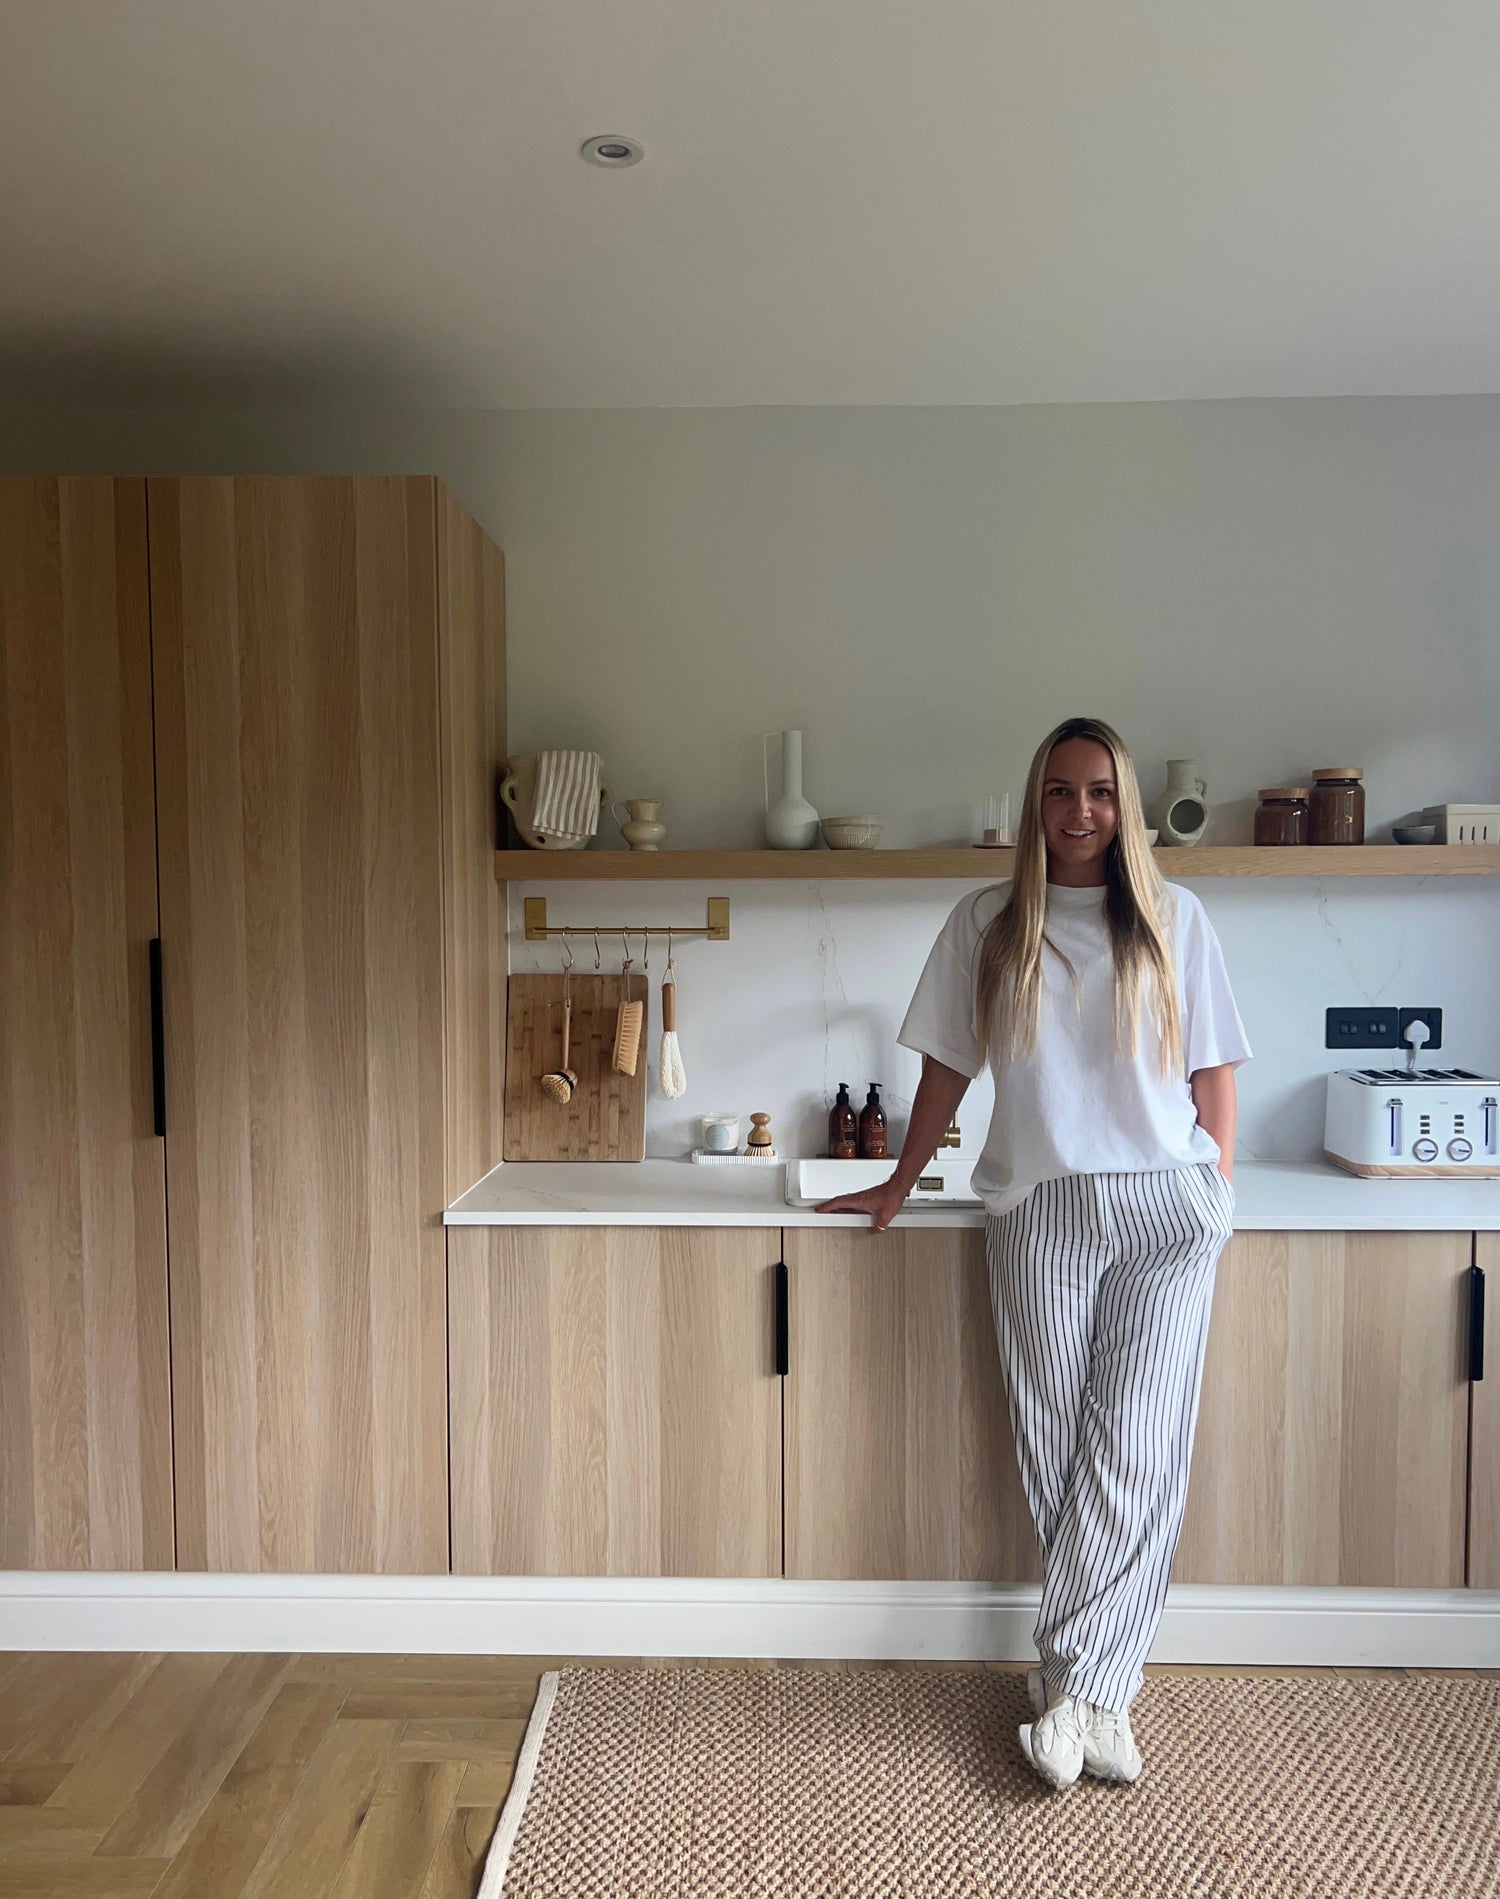
The Insta queen of DIY, Kerry Kellett (@klk.interiors) has created the most stunning utility room using 3 different IKEA units; the Pax, Besta and Kallax. As a Hendel & Hendel Brand Ambassador, Kerry chose the Edison Profile Handles in Matt Black to be the finishing touch to her project. Fortunately for us, Kerry shared the full step by step process of how she created each part of her utility room on her Instagram page so you can create a stylish and budget friendly utility room too.
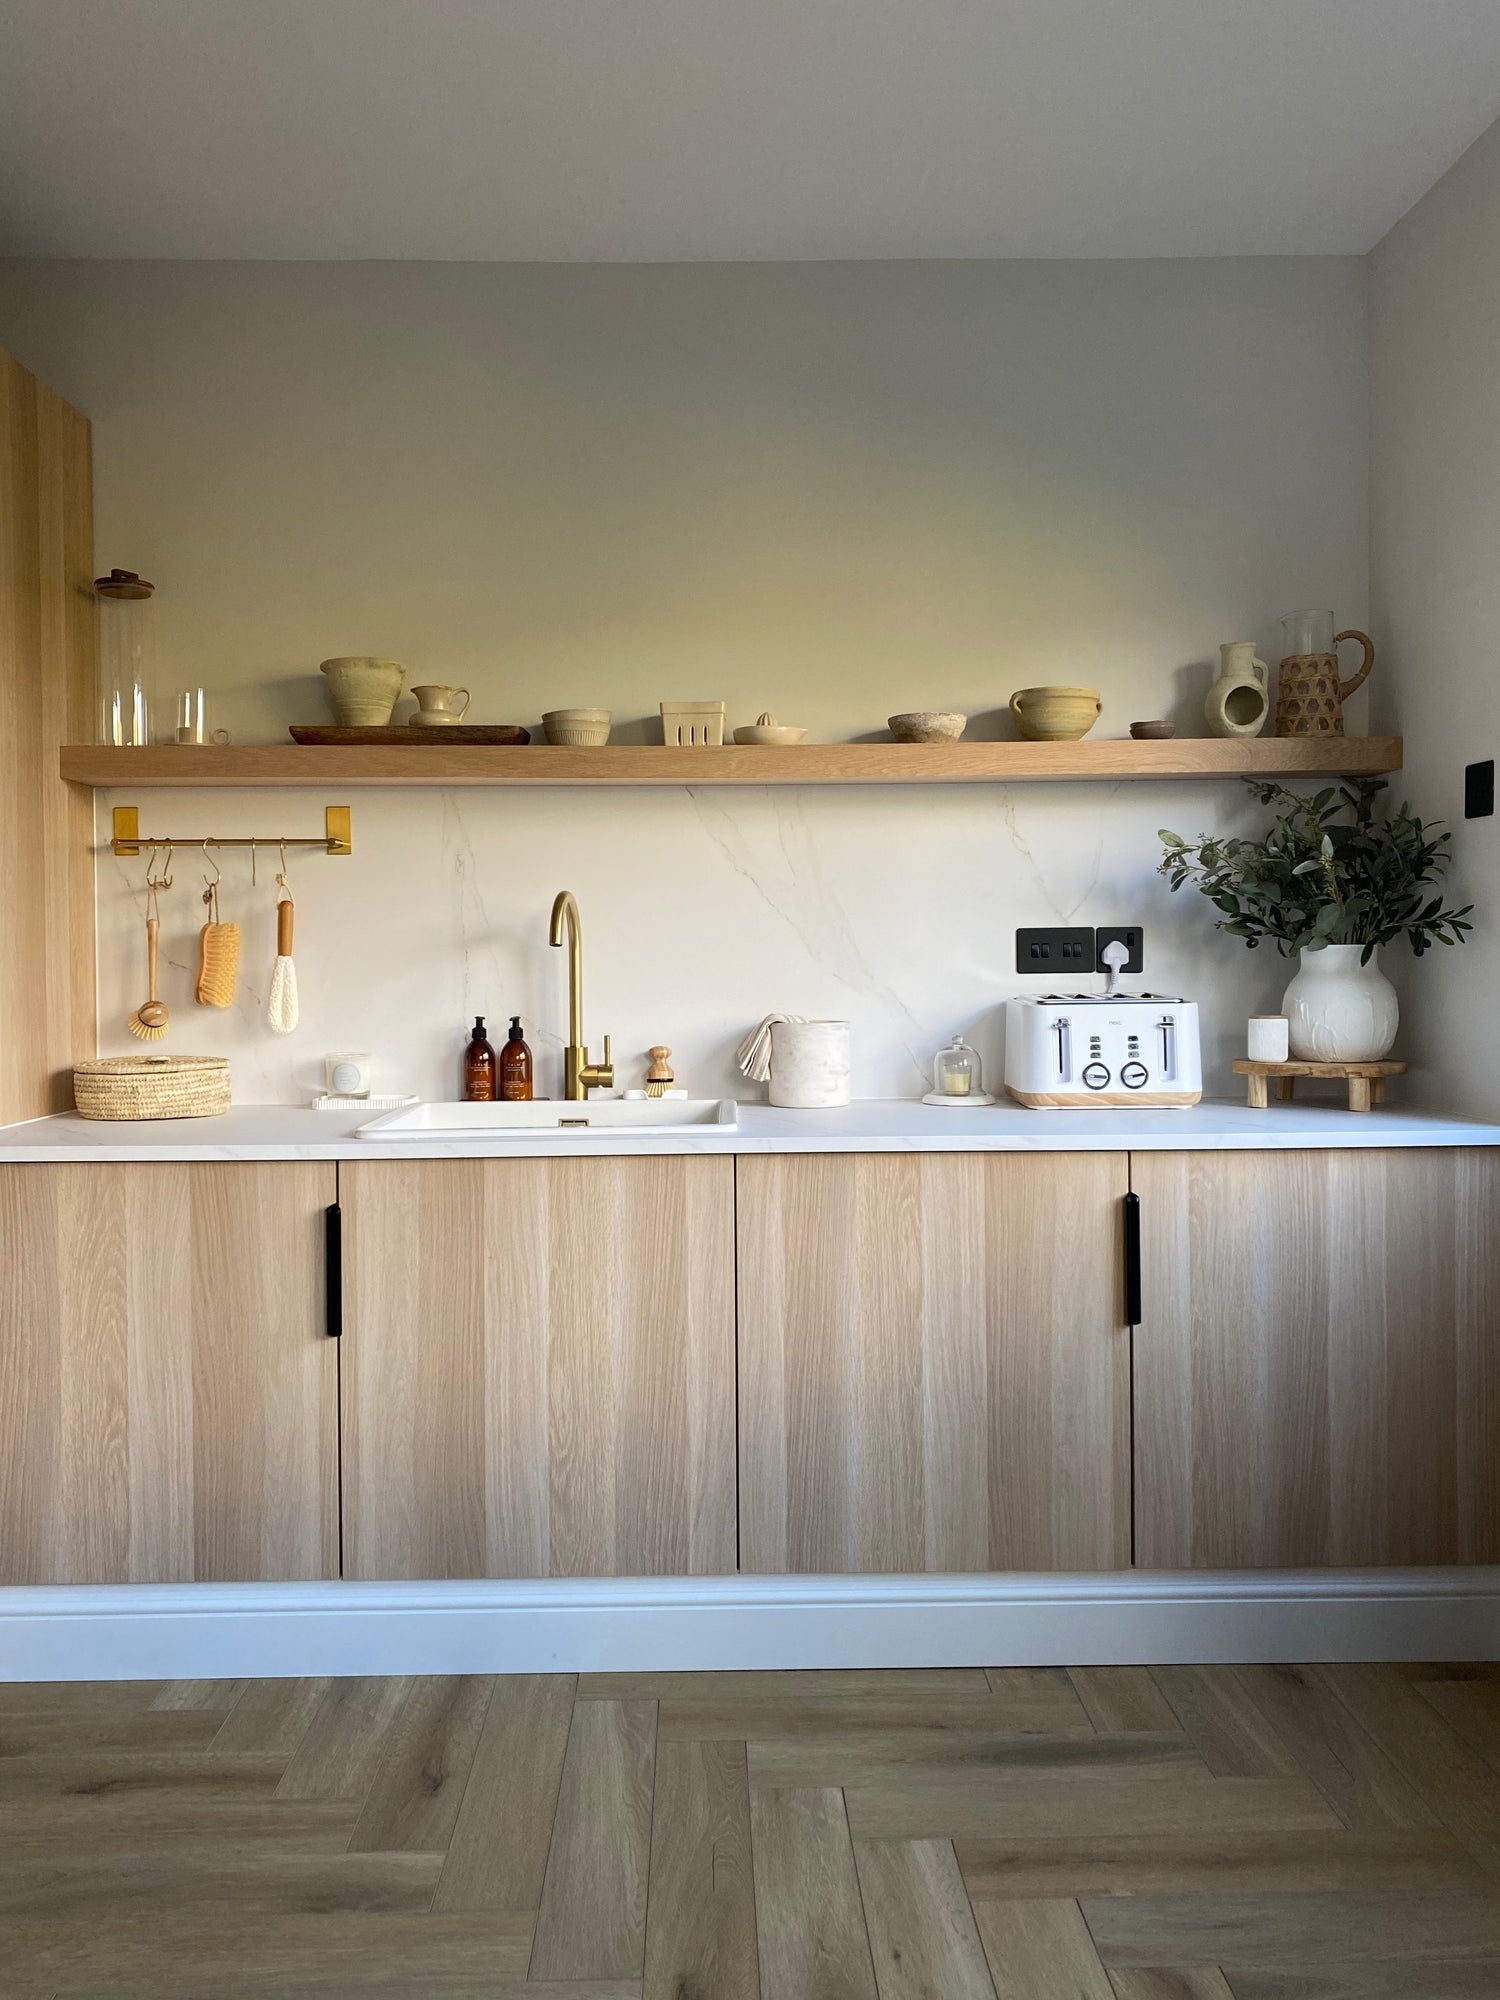
The Broom and Sink Cupboards
For the broom and sink cupboards that are along one side of her utility room, Kerry used the Pax unit and the Besta units. The step-by-step process she shared went like this:
STEP 1
We created the frame for the Besta and Pax units to sit on. Ours are 15cm high (the height of the skirting board) using 3x2 CLS timber.
STEP 2
Then we built up the IKEA units and sat them on the frames. The Besta units are sat forward 20cm from the wall to meet up with the worktops. They are secured to each other, the wall, and the base frame.
STEP 3
We added a work top and a splash back from Howdens in Callacatta Mineral laminate. The sink is from eBay and the tap is from Amazon.
STEP 4
Attach the skirting boards with no nails to the timber base frame. Then add your hardware. Kerry chose the Edison Profile Handles in Matt Black. Use KERRY10 for 10% off your order.
STEP 5
Kit out your broom cupboard with:
- Clips for mops
- Attach the vacuum wall bracket
- Wire baskets for cleaning products
- Additional storage at the top of the Pax unit

The Seating Area & Cupboards
For the seating area in her utility room, Kerry used the Kallax unit alongside the Pax. The step-by-step process she shared on Instagram was as follows:
STEP 1
Build a frame for the unit to sit on. We used 3x2 CLS timber built up to the height of the skirting board.
STEP 2
Build your Kallax unit, ours is the whitewashed oak. Then secure to the top of the frame.
STEP 3
Create your bench top. We used oak backed MDF and painted it in Make It Rustoleum shade ‘Steamed Milk’.
STEP 4
We then used shiplap paneling for the back of the seating area with a 5mm gap.
STEP 5
We have added a floating shelf from The Crafty Couple Ltd. Ours is in natural oak. They can be created bespoke made to measure and comes with fixings.
STEP 6
Finishing touches. We have used hooks from Amazon, shelf accessories from The Crafty Couple Ltd, HomeSense and H&M Home.
The finished project is a stunning example of functionality meeting style. Kerry has kept her utility room interior neutral, allowing the wooden finished IKEA units to take centre stage in her space. The Edison Profile Handles in Matt Black ensures a final contemporary touch. It most definitely gets the H&H stamp of approval!
Tag us on Instagram to share your projects with us and to be featured on our page!