IKEA PAX HACK: HOW TO CREATE BUILT IN WARDROBES ON A BUDGET WITH LINDSEY BIRD
IKEA hacks are all over social media and we are here for it. They are a brilliant way of refreshing a space on a budget whilst also adding a stunning storage solution for practicality. The most popular of the IKEA hacks is using the PAX system to create a built-in wardrobe. There are many benefits to having fitted wardrobes, not only do they make better use of your space, but they are also convenient and stylish storage solutions.
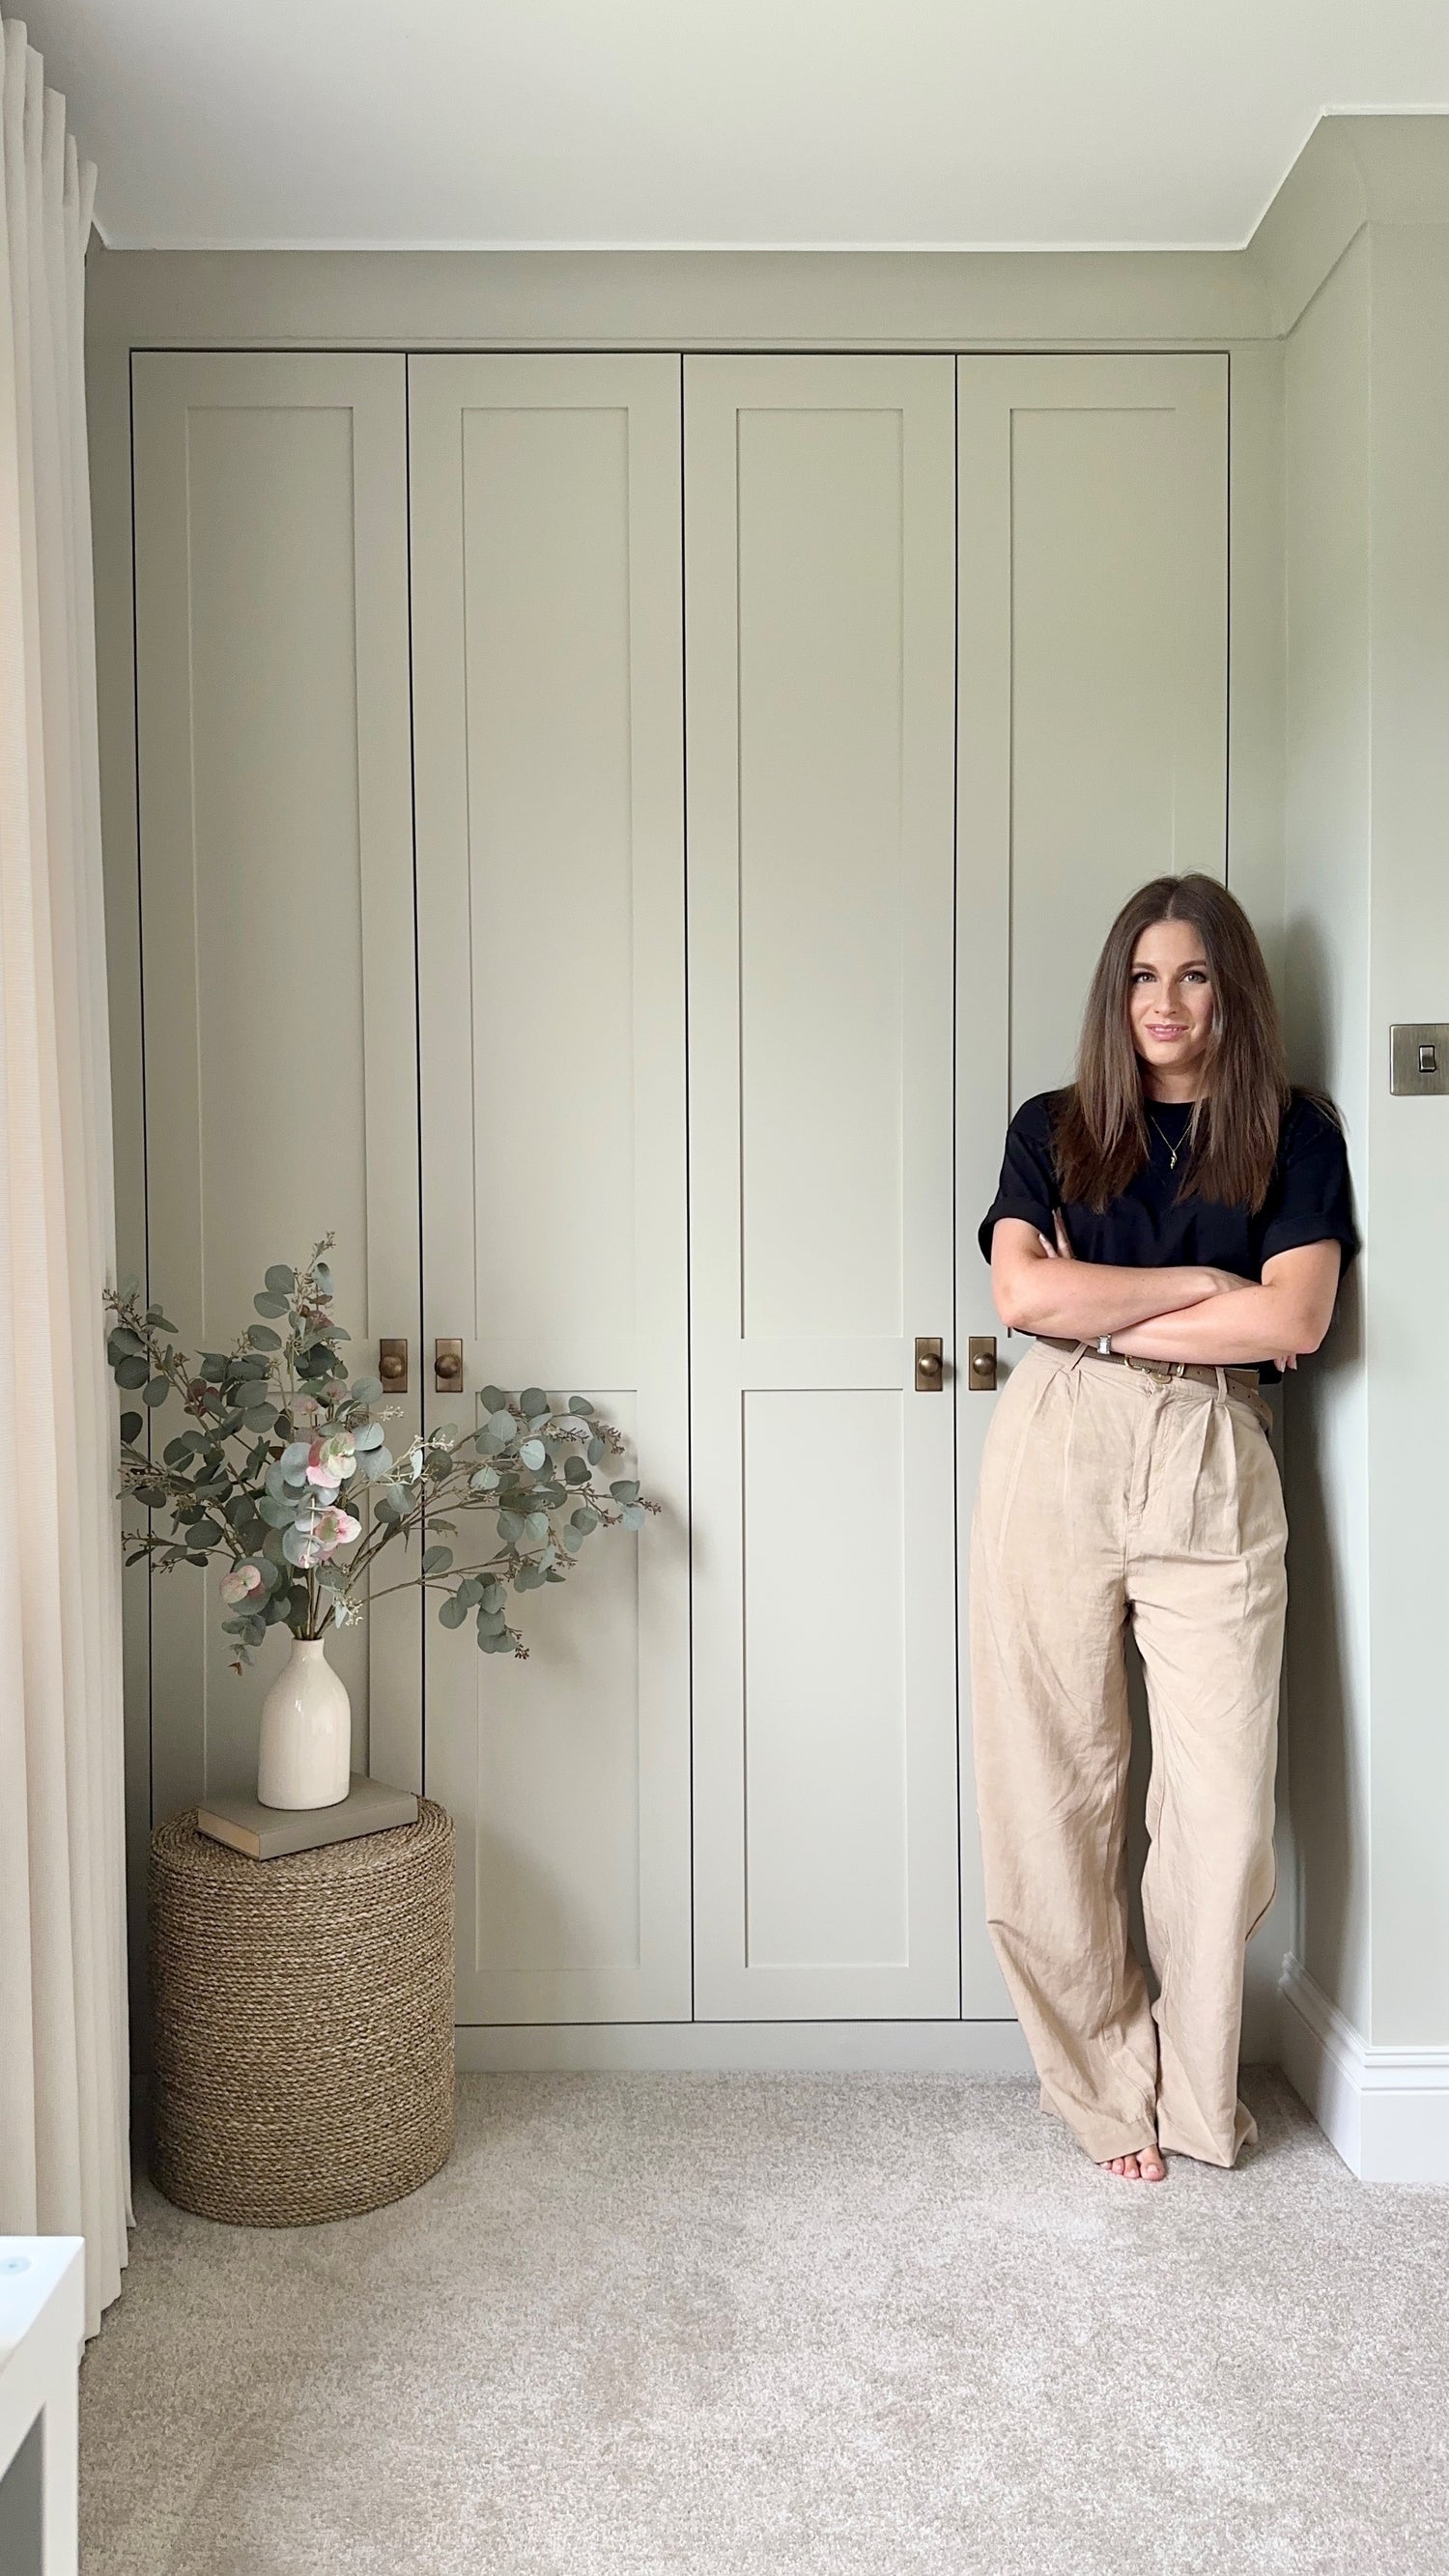
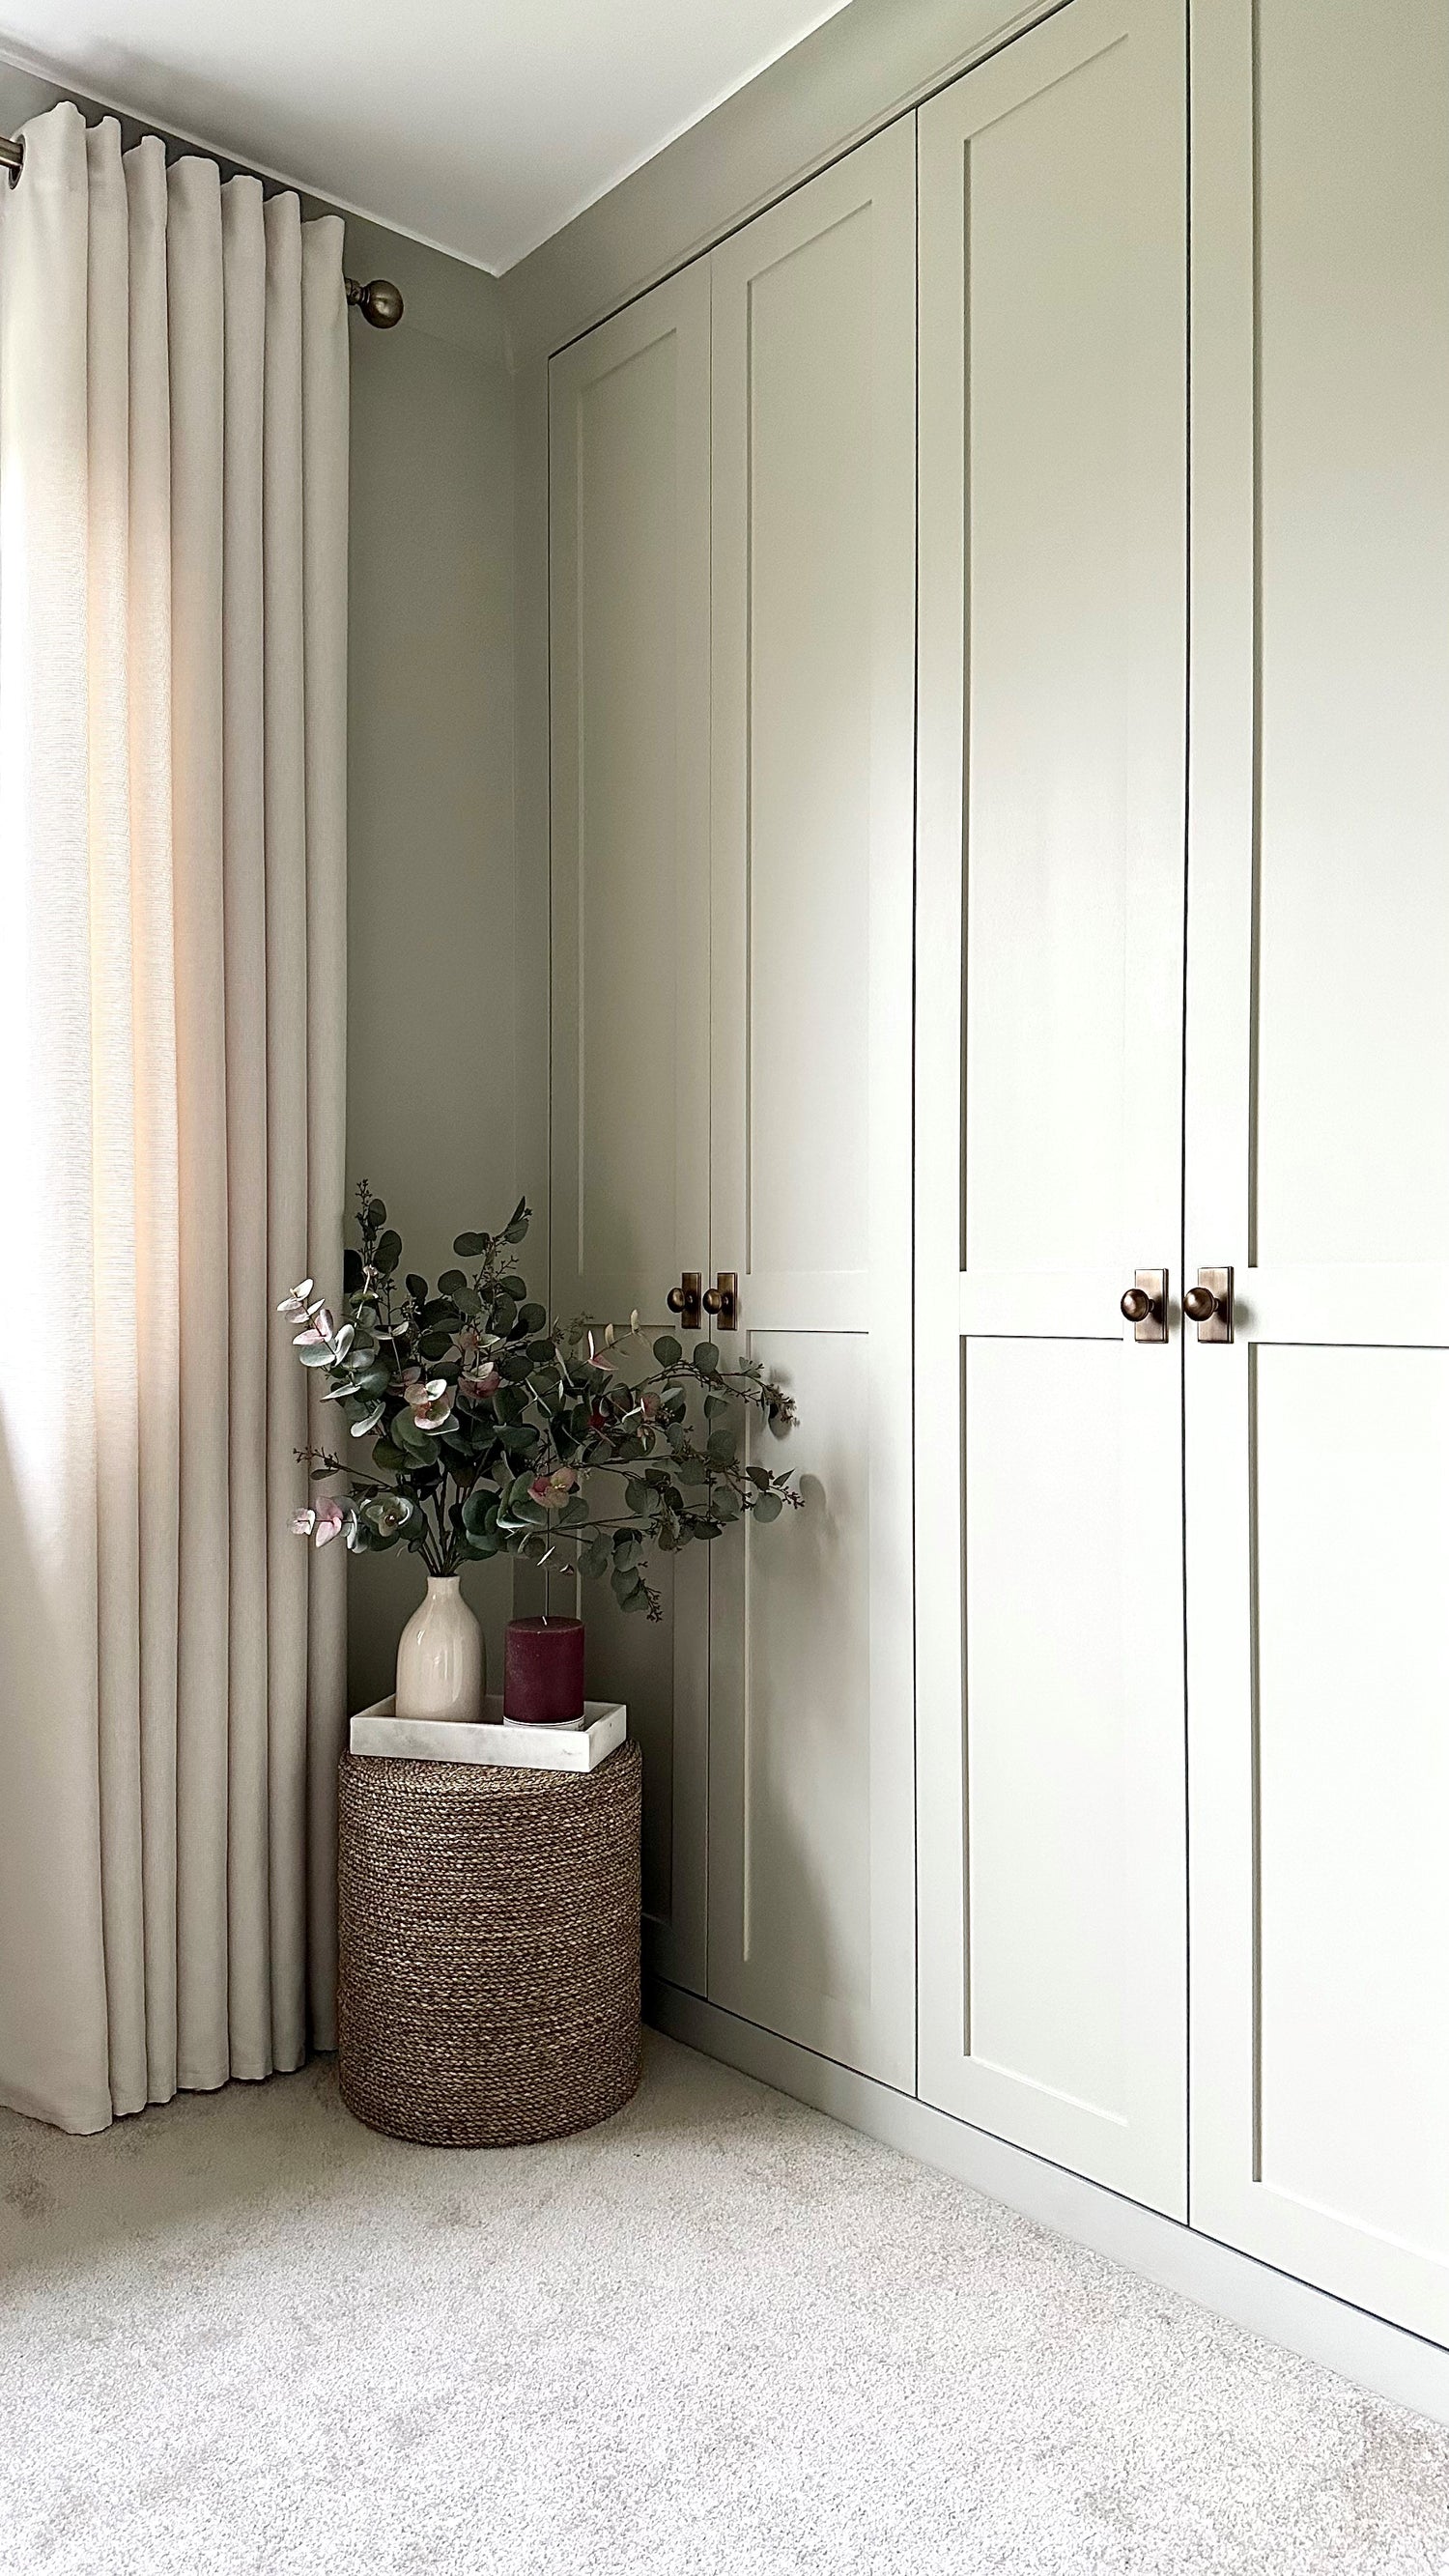
Interior designer Lindsey Bird (@lvb.interiors / @lvb.home) created a stunning built in wardrobe space on a budget using an IKEA Pax Hack. Two Ikea Pax carcasses, some MDF and a couple of Callcott Knobs and Rectangle Backplates in Dark Brushed Brass later, Lindsey transformed what was an unloved storage space into a stunning built in wardrobe to be proud of.
If you are inspired by Lindsey and want to create your own DIY built in wardrobe here’s how she did it.
Step 1
The first step is to create a timber side frame in the alcove that will be used to attach the Ikea Pax carcasses on to. The side frame is then cladded at the front and the sides with MDF for a smooth finish.
Step 2
Then Lindsey levelled out the flooring with MDF, so that when she built the Ikea Pax carcasses, they were on a level surface for stability. This step you may not need to take if you have a level space already! Stand the carcasses on the base and attach them to the side frame with 5 to 6 screws. It is also worth attaching the two Ikea Pax carcasses to each other and to the wall behind using the supplied Ikea fittings.
Step 3
A little preparation is then needed to ensure a smooth finish. Fill any holes in the walls and caulk and sand the timber frame.
Step 4
At this point, it is then important to prime the MDF with an MDF primer. Then Lindsey chose to paint the panels in Greige 02 by Lick. Lindsey also placed a panel of MDF on the front of the IKEA carcass and primed and painted this as well.
Step 5
To create the doors, Lindsey enlisted the help of B&Q. For the size of her alcove, Lindsey chose a sheet of MDF 12mm thick and had them cut to size for the doors. Lindsey also chose another sheet of MDF that was 6mm thick and got this precut into strips that would create the shaker framework.
Step 6
Lindsey then cut hinge holes into the MDF doors and put the doors onto the frames to see if they were correct before gluing the thin strips of MDF onto the doors to create the shaker style design.
To give the doors a finished look, Lindsey then corked the edges and the joints to seal them and then sanded them.
Step 7
Lindsey then primed the doors with MDF paint primer and then painted them in the Greige 02 by Lick with a paint sprayer for a perfectly smooth finish. Then the doors were hung in place.
Step 8
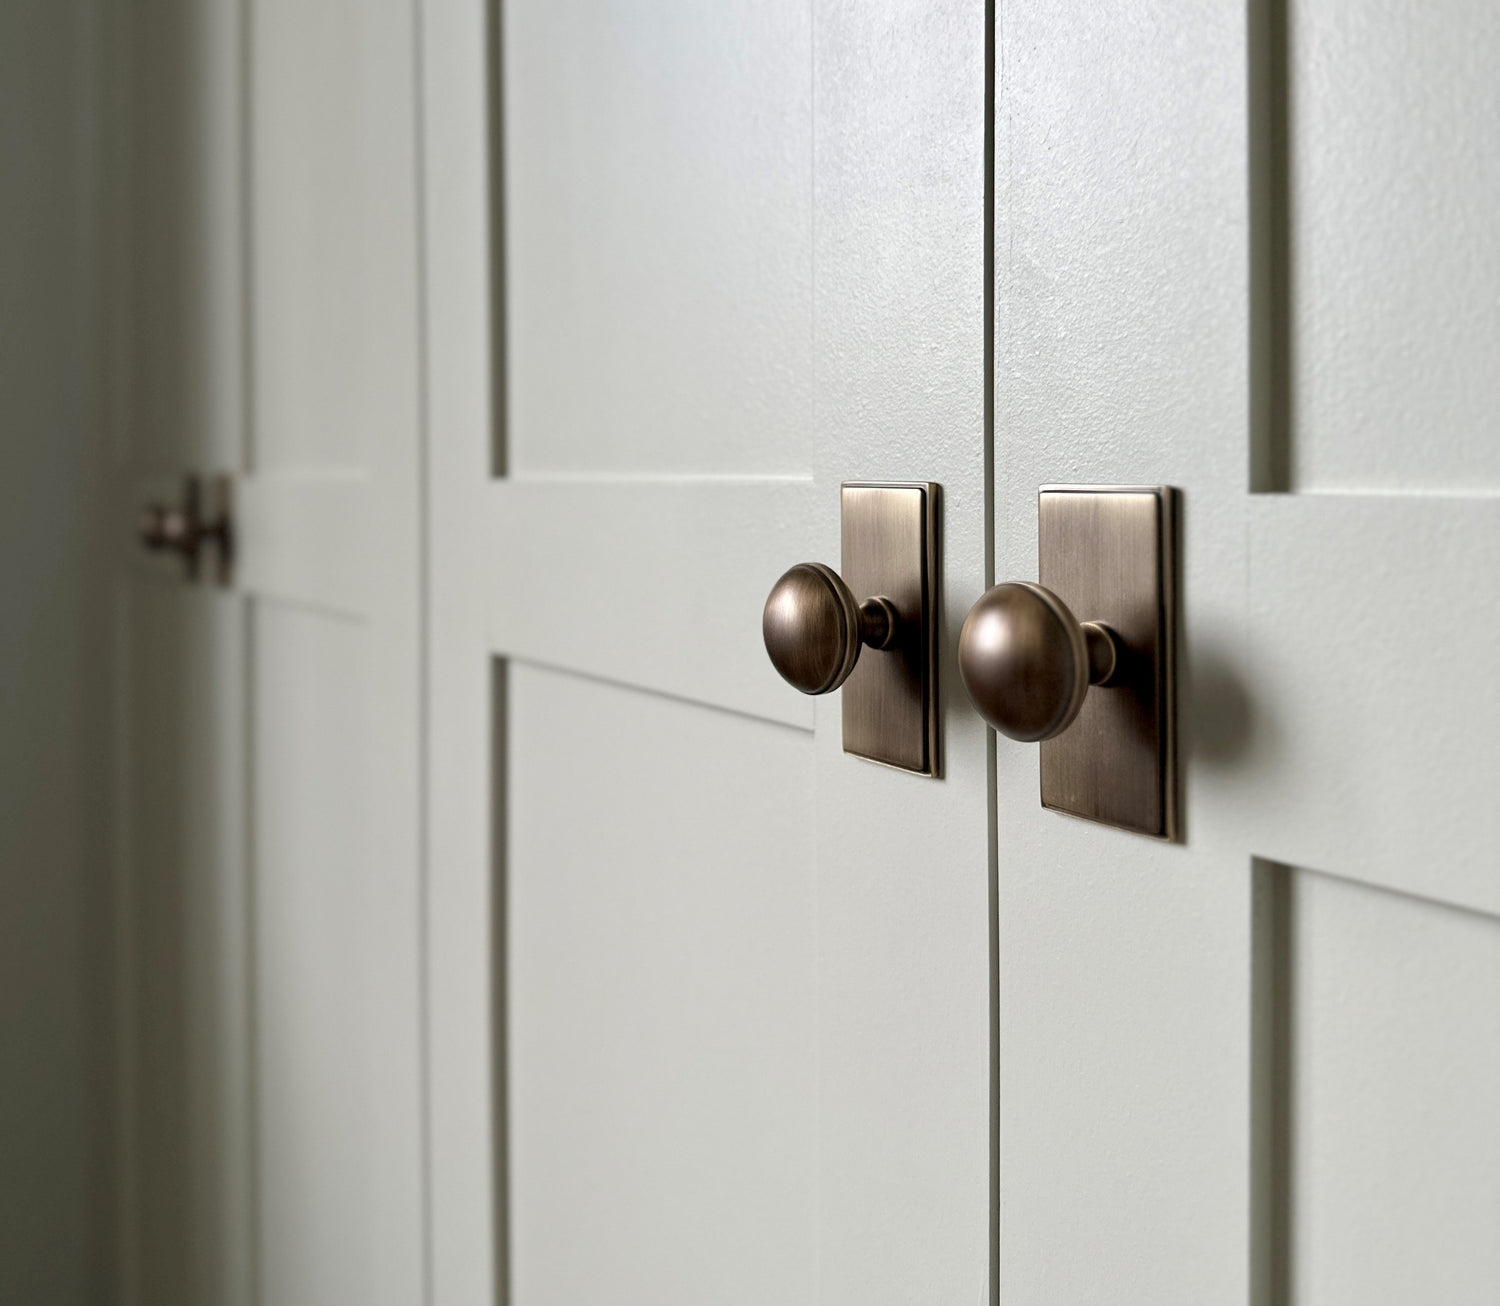
Finally, it was time for the finishing touch. The Callcott Knob and Backplates in Dark Brushed Brass were fitted into place.
It goes without saying, a DIY project isn’t for the faint hearted. However, it can be a far more cost-effective way of getting the interior style that you are looking for. Fitted wardrobes can be an expensive outlay, so if you are on a budget an IKEA Pax DIY Project is a brilliant alternative (if you have the time and perseverance!). Hopefully, this step-by-step guide of how interior designer, Lindsey Bird (@lvb.interiors / @lvb.home), created her built in wardrobes has given you some inspiration and guidance to create your own IKEA Pax masterpiece!
We absolutely love seeing how you incorporate Hendel & Hendel handles in your projects. Tag us in your projects to be featured on our socials!