HOW-TO FIT CABINET HARDWARE.
Fitting cabinet hardware doesn't need to be hard and it certainly doesn't require an expert tradesman! Follow our quick and easy guide to completely transform your interior space.
All you will need is a screwdriver and the perfect handle of course...
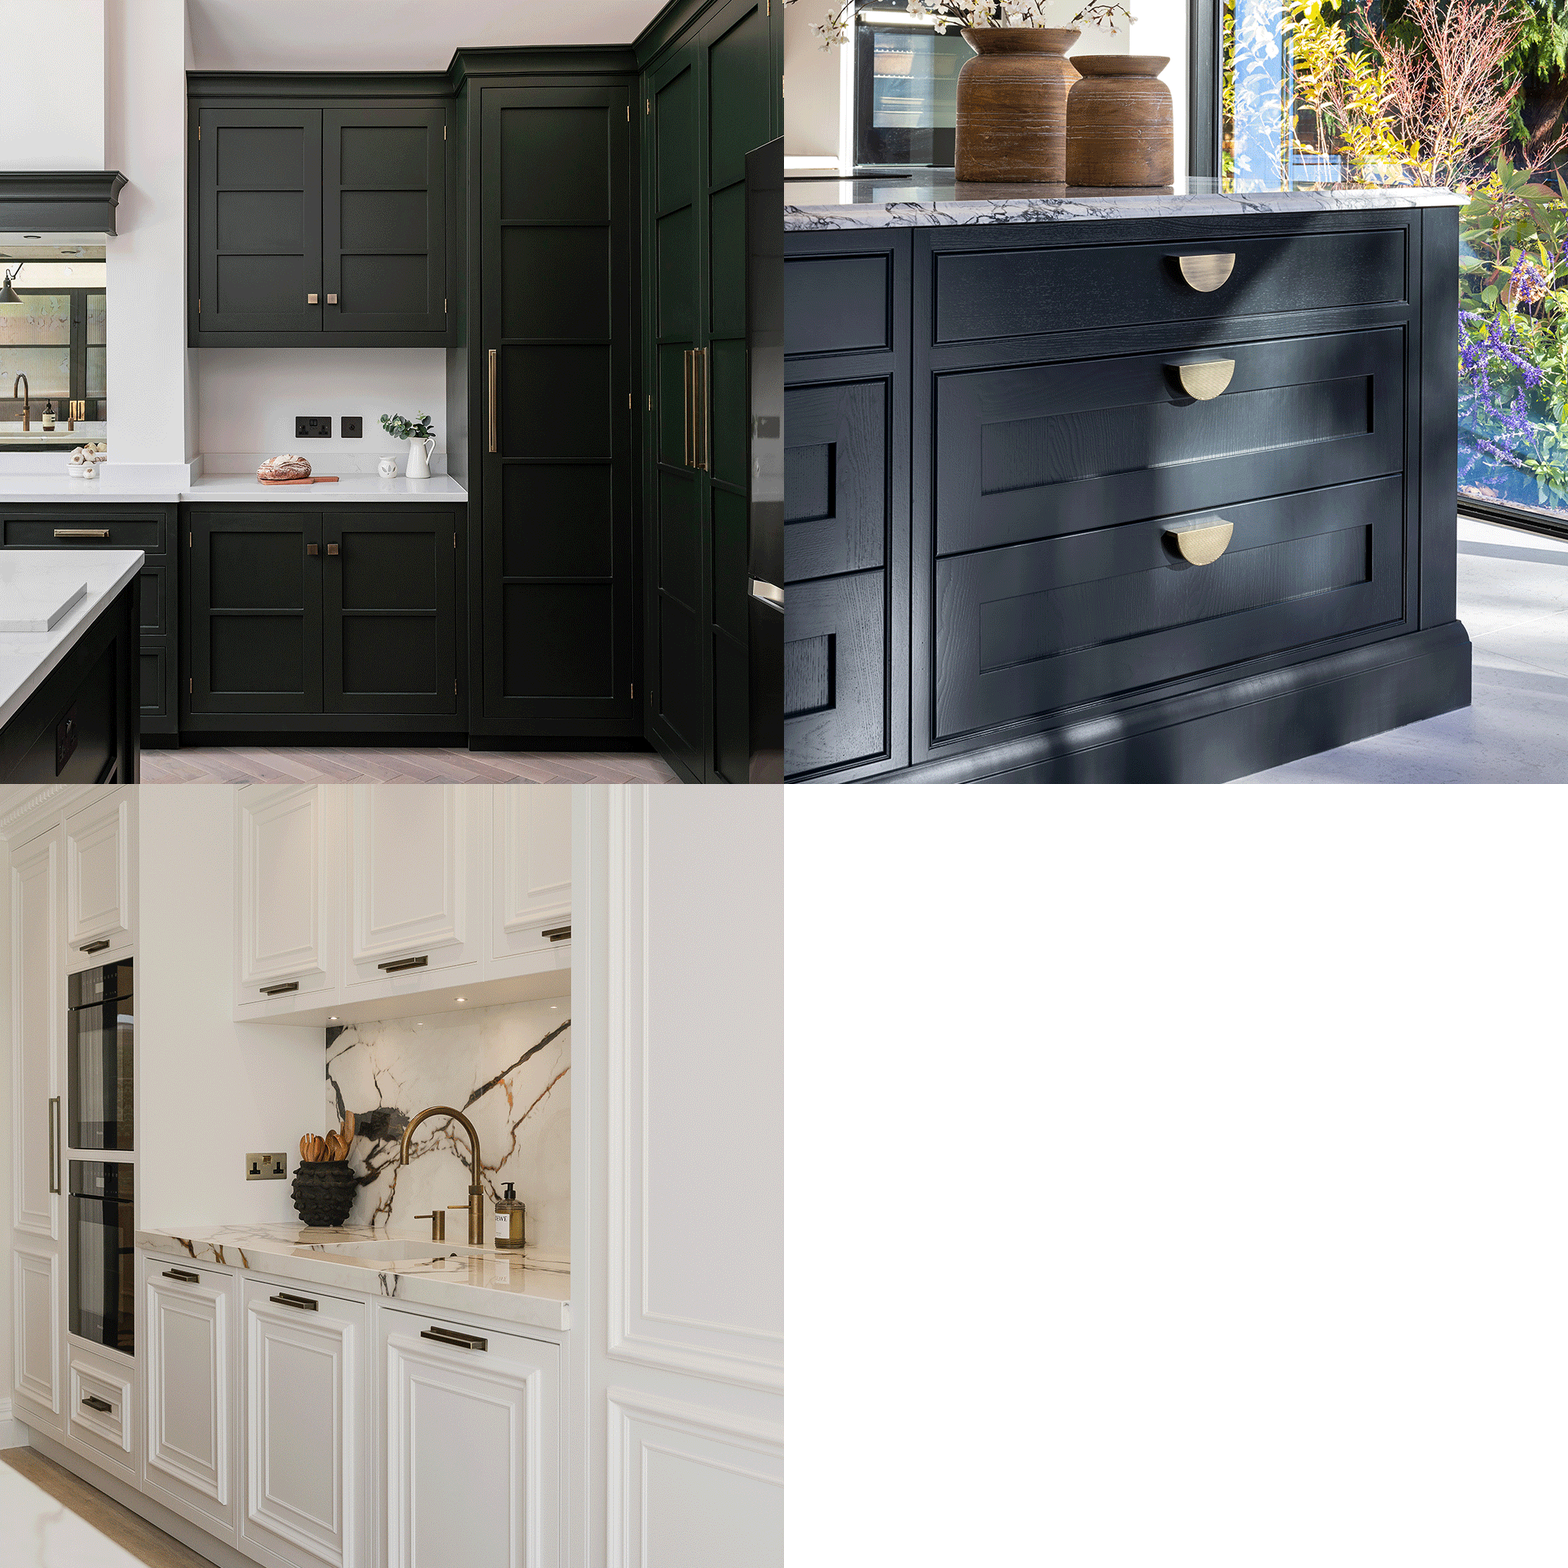
Small changes can make a big impact and with the right hardware you can completely transform the look of your space.

Fitting Pull Handles/Cup Handles
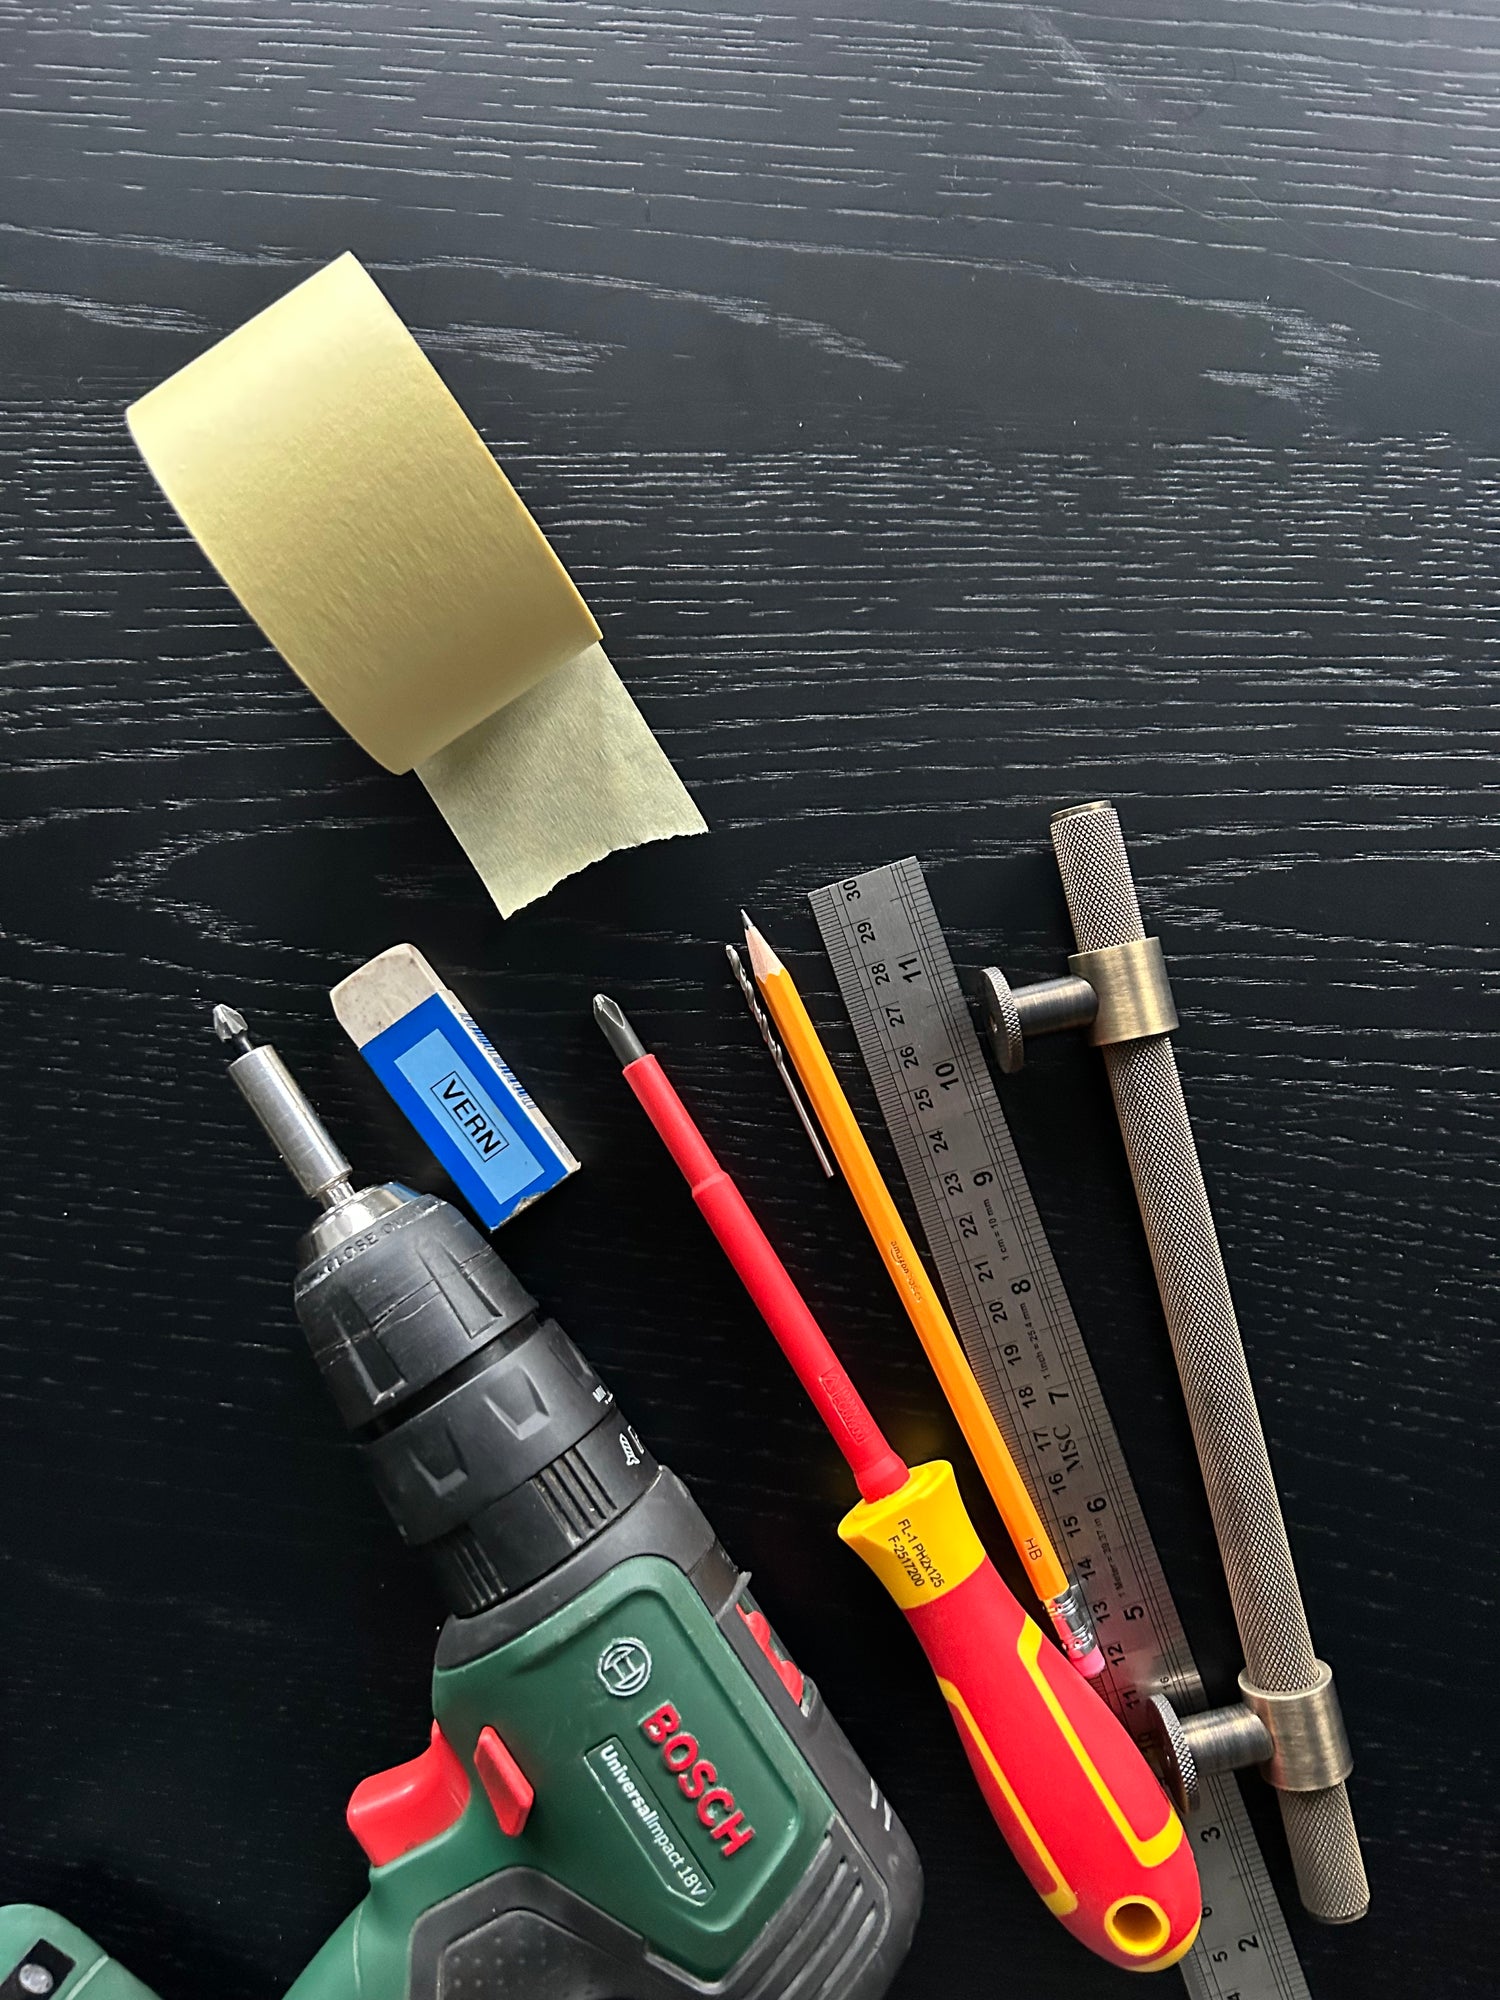
Tools/Materials Required:
- Hendel & Hendel hardware
- Phillips screwdriver
- Drill & sharp 4.5mm drill bit (5mm can be used, but your hardware may be looser)
- Tape measure
- Low-tac masking tape
- Spirit Level
- Pencil

Step 1: Determine Handle Placement
What look are you creating? The placement is crucial to perfecting the overall look and feel of a space.
The positioning of your hardware may be determined by the door style. For example on a slab cutlery drawer front, typically the handle is positioned central. On a shaker door however, the width of your frame will affect the placement you will want.
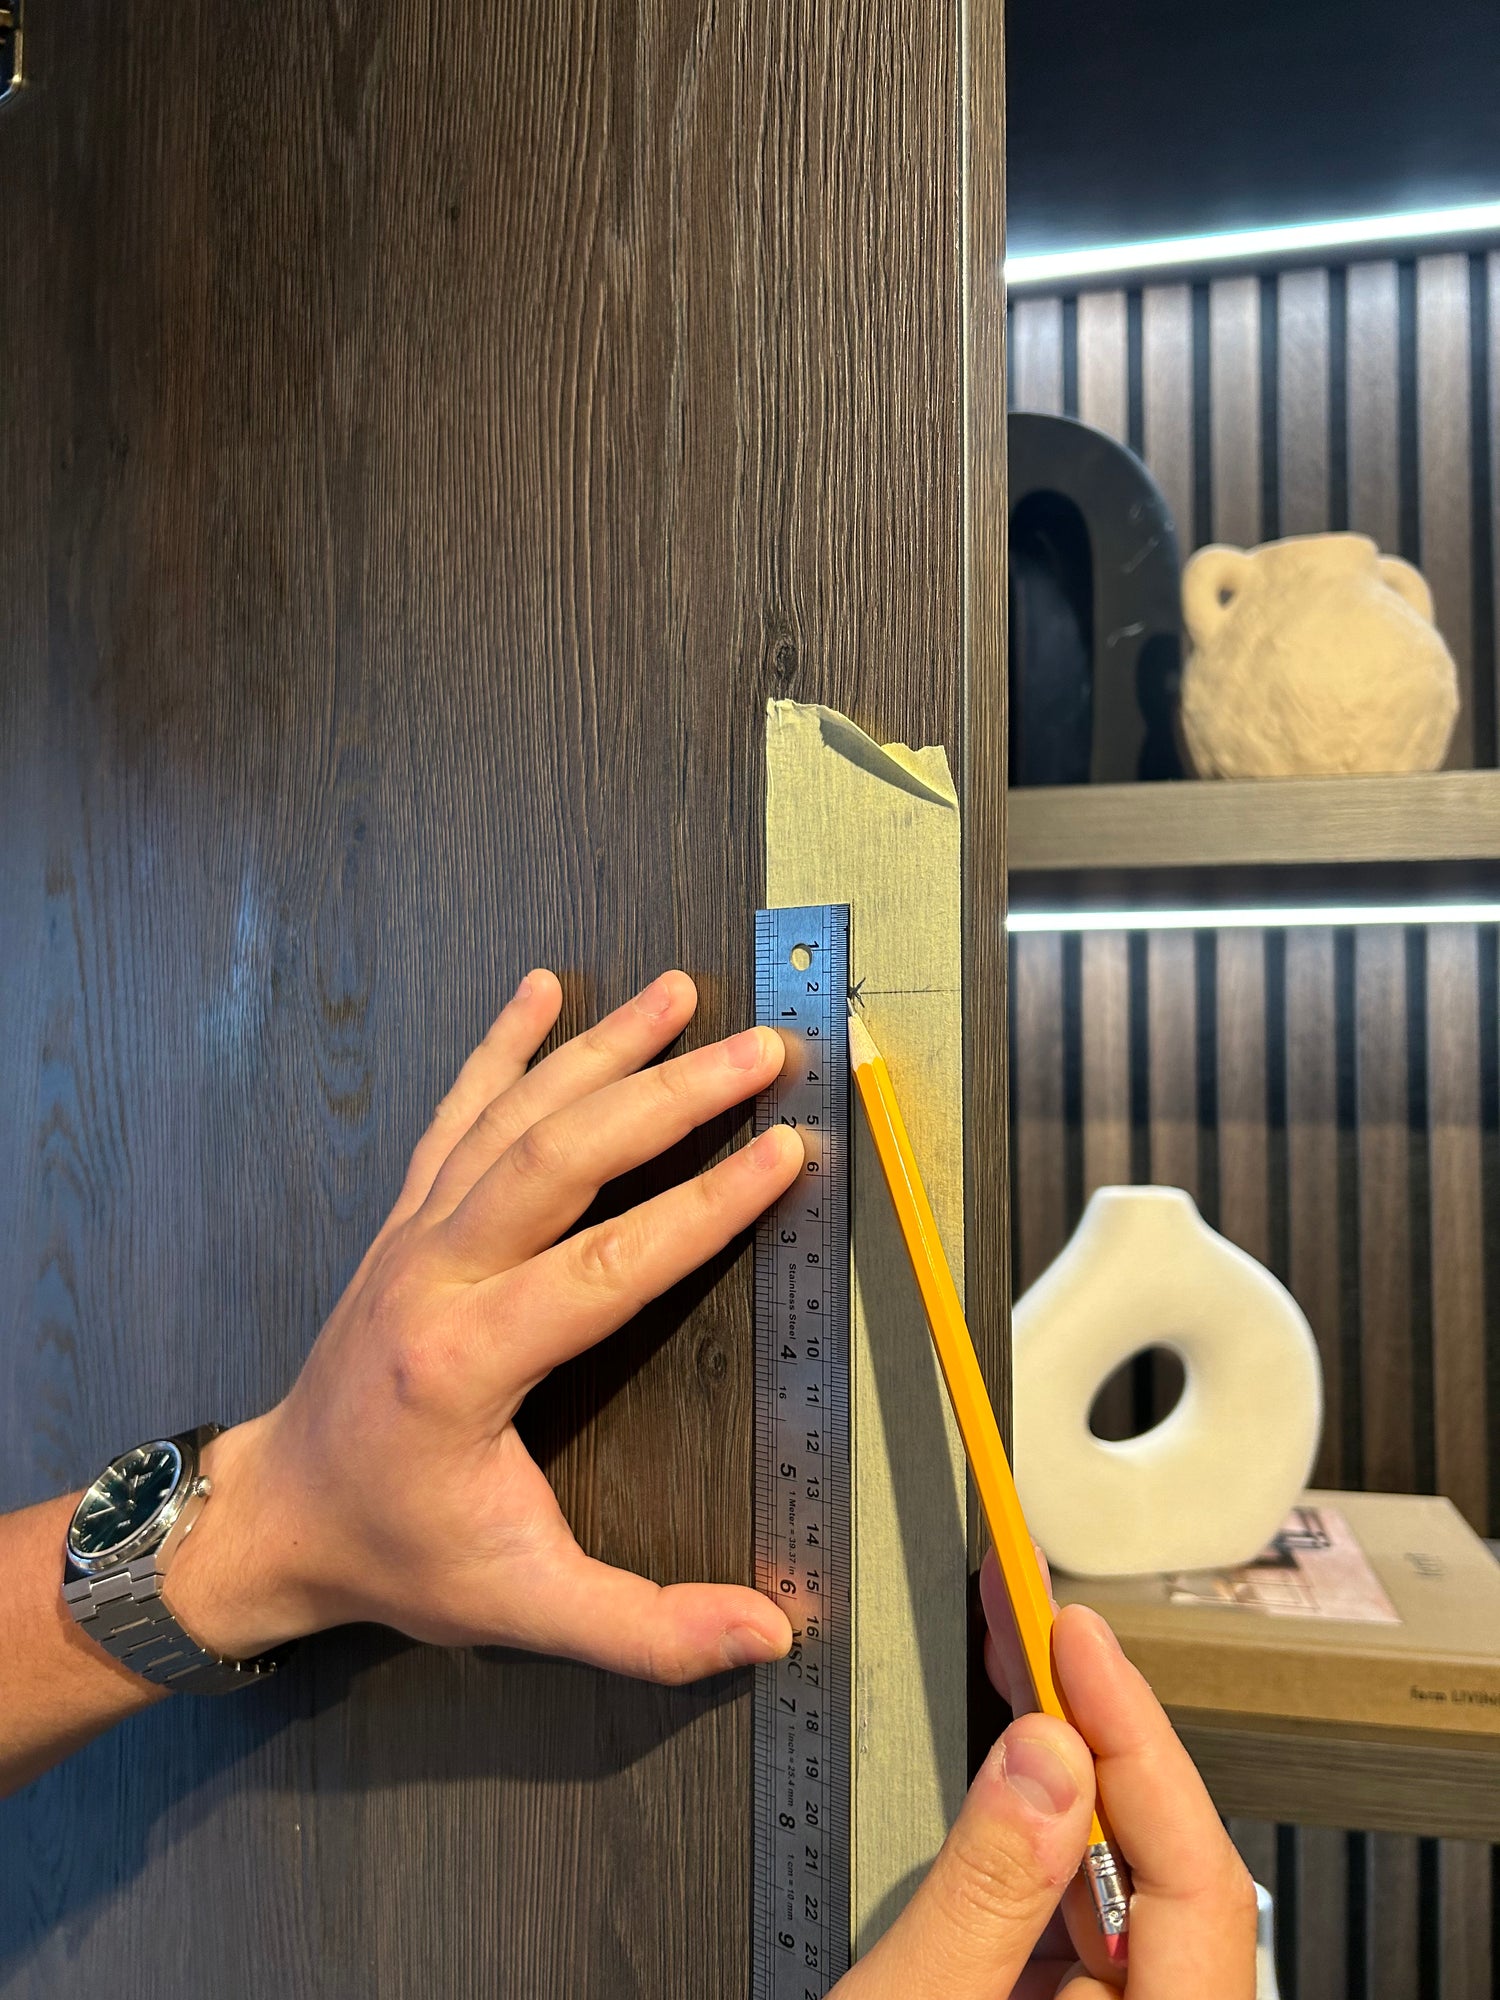
Once determined, carefully position the low-tac masking tape in the intended handle positioning on each door.
If the hole positioning on the back of the handle isn’t central to the overall height of the handle, we recommend marking the overall placement of each handle on the masking tape. An example of this is
Callcott Cup Handle – as such the hole positioning is not central to the overall height of the cup.

Step 2: Mark Hole Positions
For cabinets with pre-drilled holes: If your cabinet already has pre-drilled holes for the handle, ensure you have
measured from the centre of one hole to the other to make sure your new hardware fits. Typically measurements include: 128mm, 160mm & 320mm.
For cabinets without pre-drilled holes: Based on the positioning you desire, carefully mark the distance between the screw holes on the door. In the case of
a knob, there is typically one central fixing point, making this step even simpler.
We recommend holding the handle/knob against the markings before you move on to step 3, especially if you arefitting cup handles. Each mark should correspond with the handle hole positioning.

Step 3: Drill Holes & Fasten Hardware
Unless stated, all of our hardware collections suit 4mm machine screws.
Carefully line up your drill bit tip with your markings, keeping your hand level and the drill at 90 degrees to the door face.
Avoid any splits or chips of paint that your hardware might not cover.
Position the handle over the drilled holes, aligning it with the markings you made earlier.
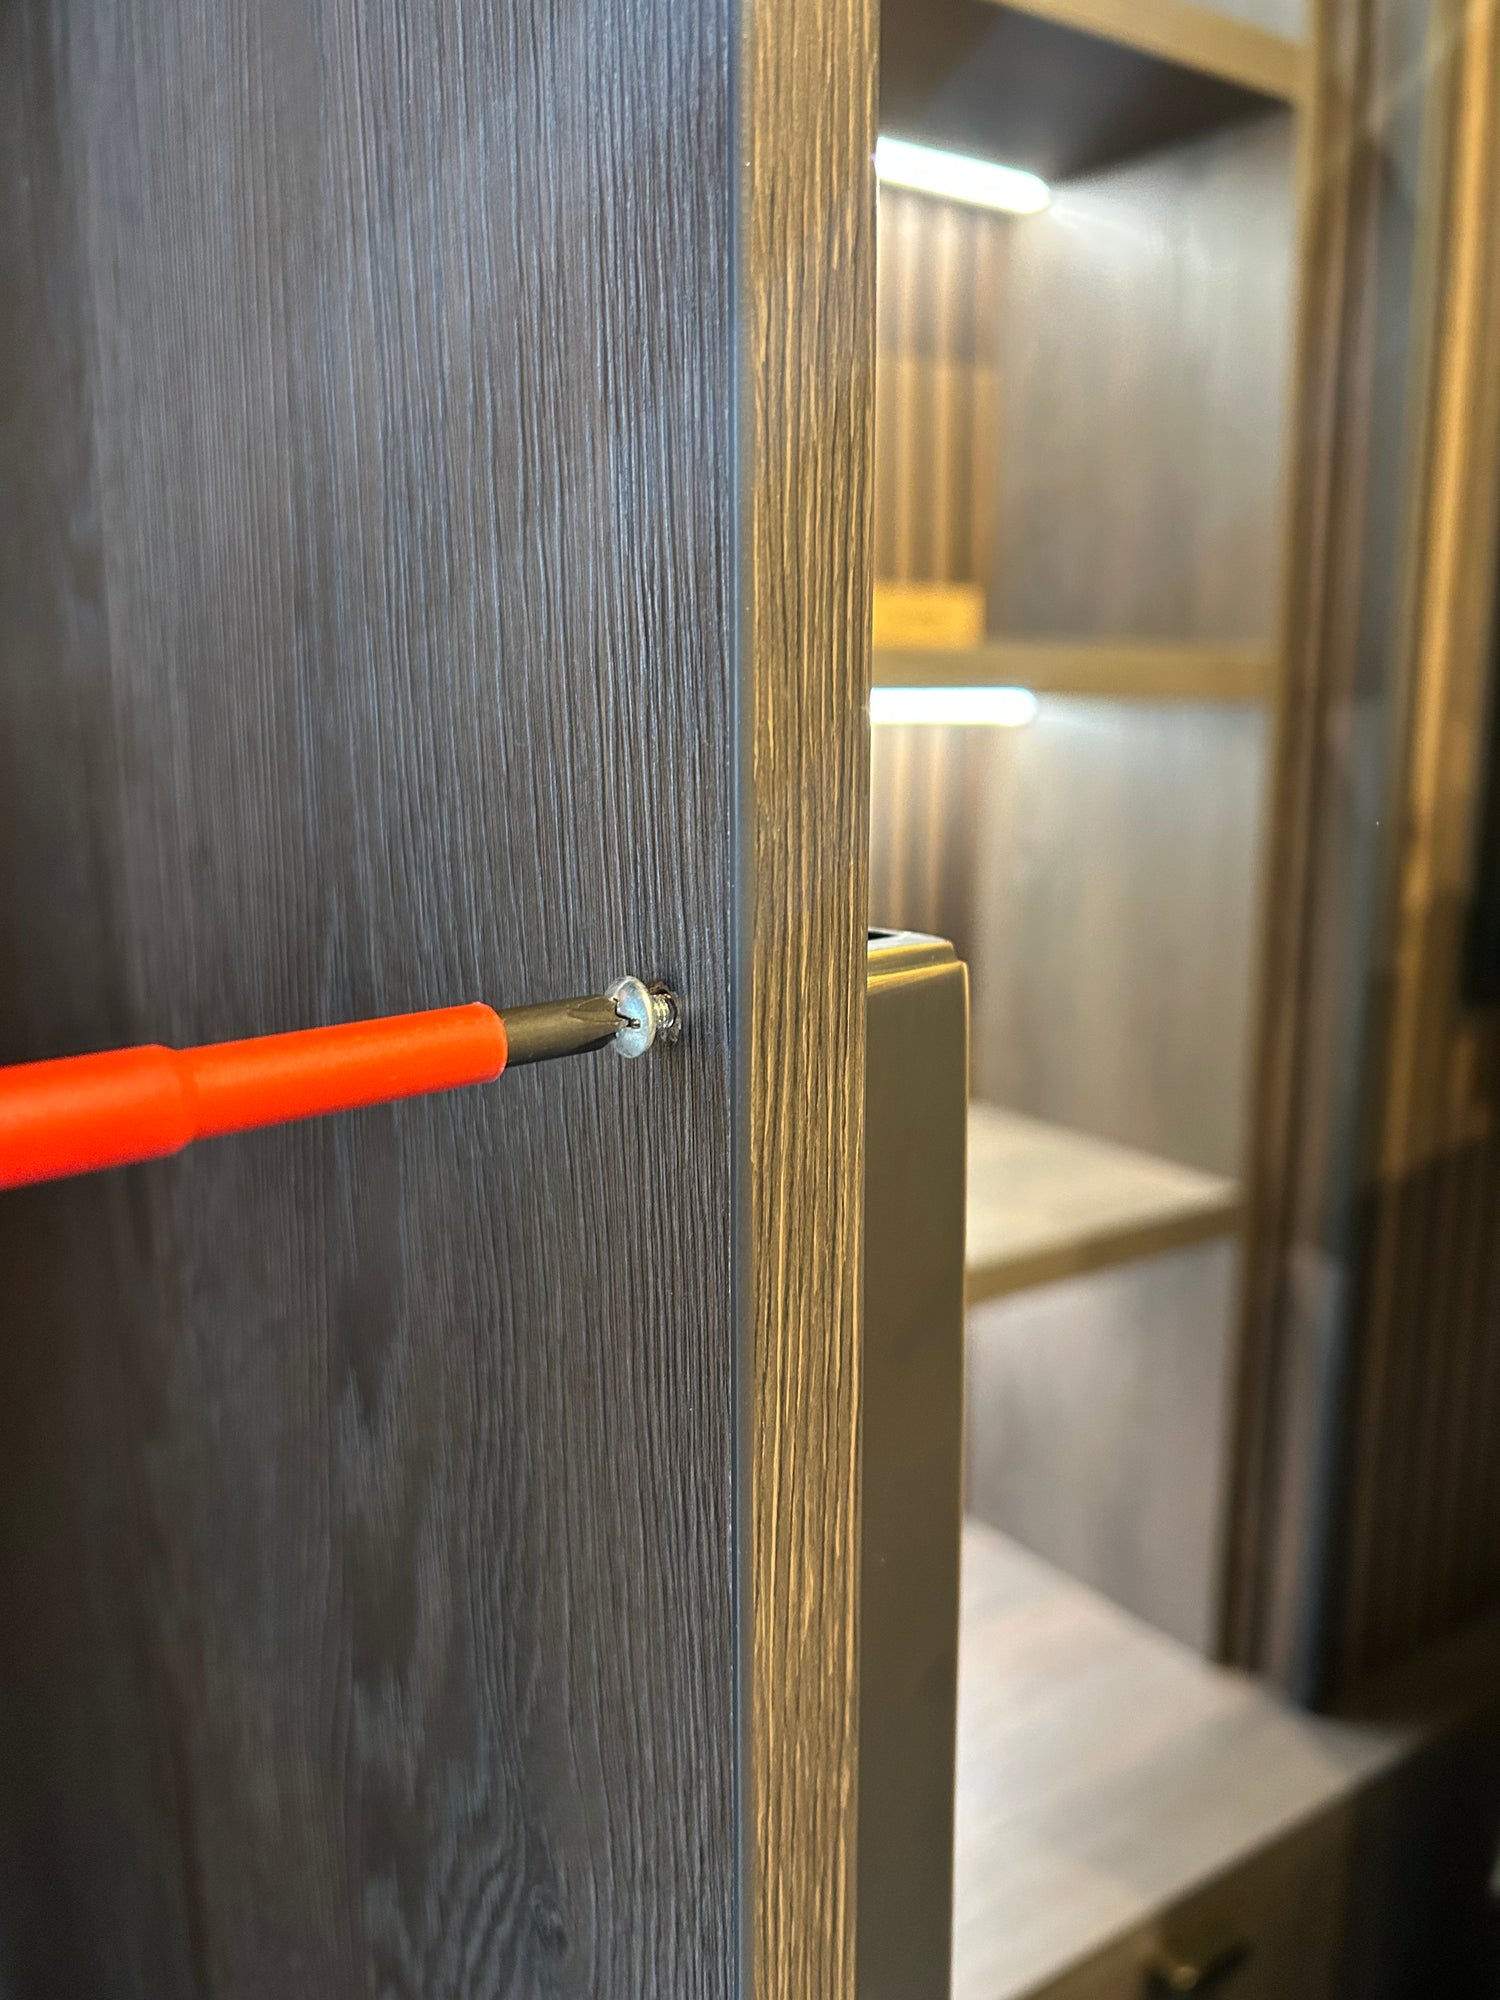
Insert the screws through the pre-drilled holes and use a screwdriver to tighten the screws securely. Be careful not to overtighten, as this could strip the screw or handle.
Step back and admire your skills. Enjoy your new hardware!